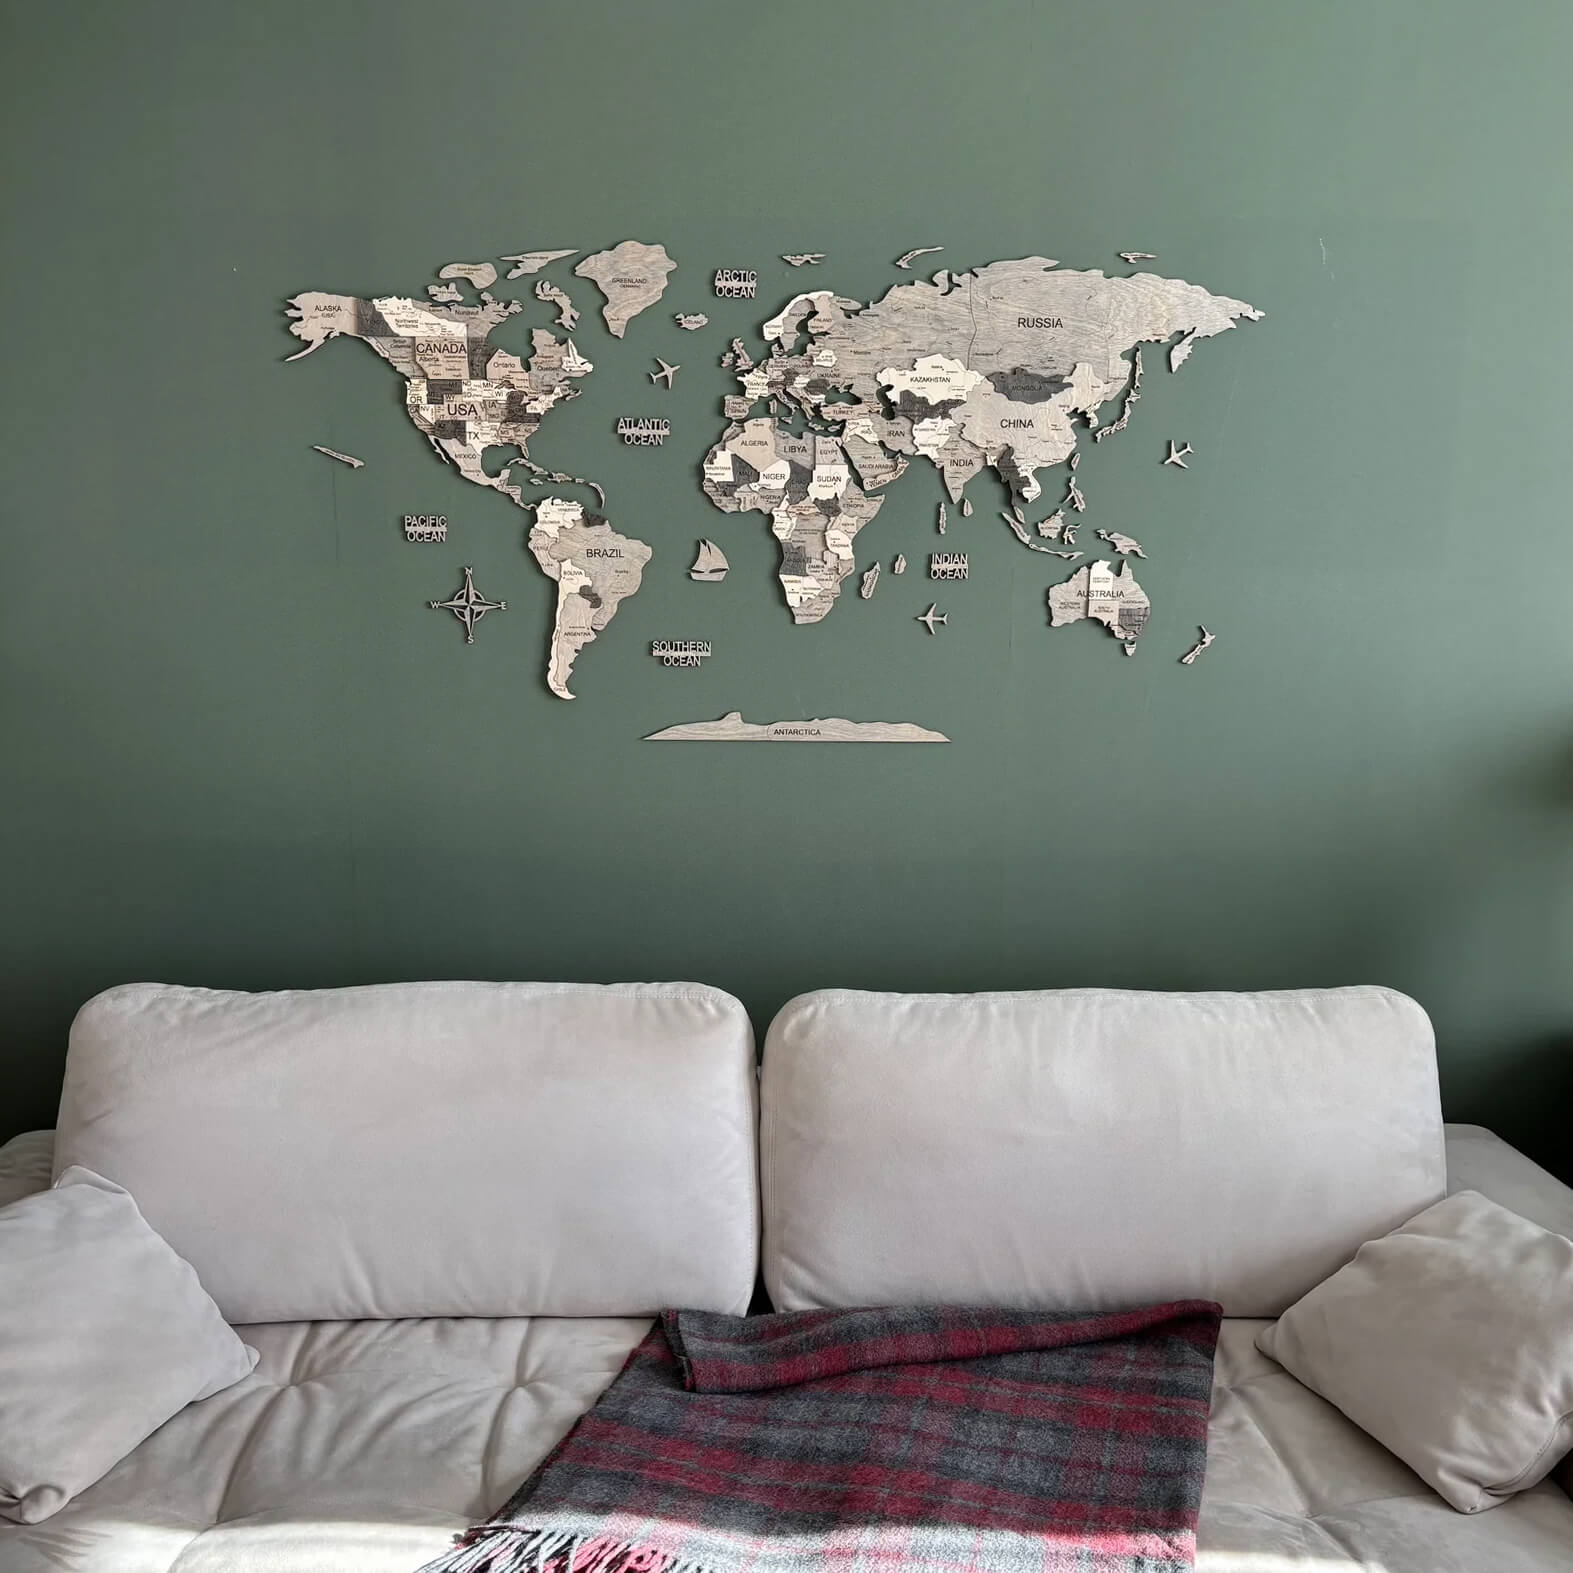
Installation
Unpacking the wooden wall map
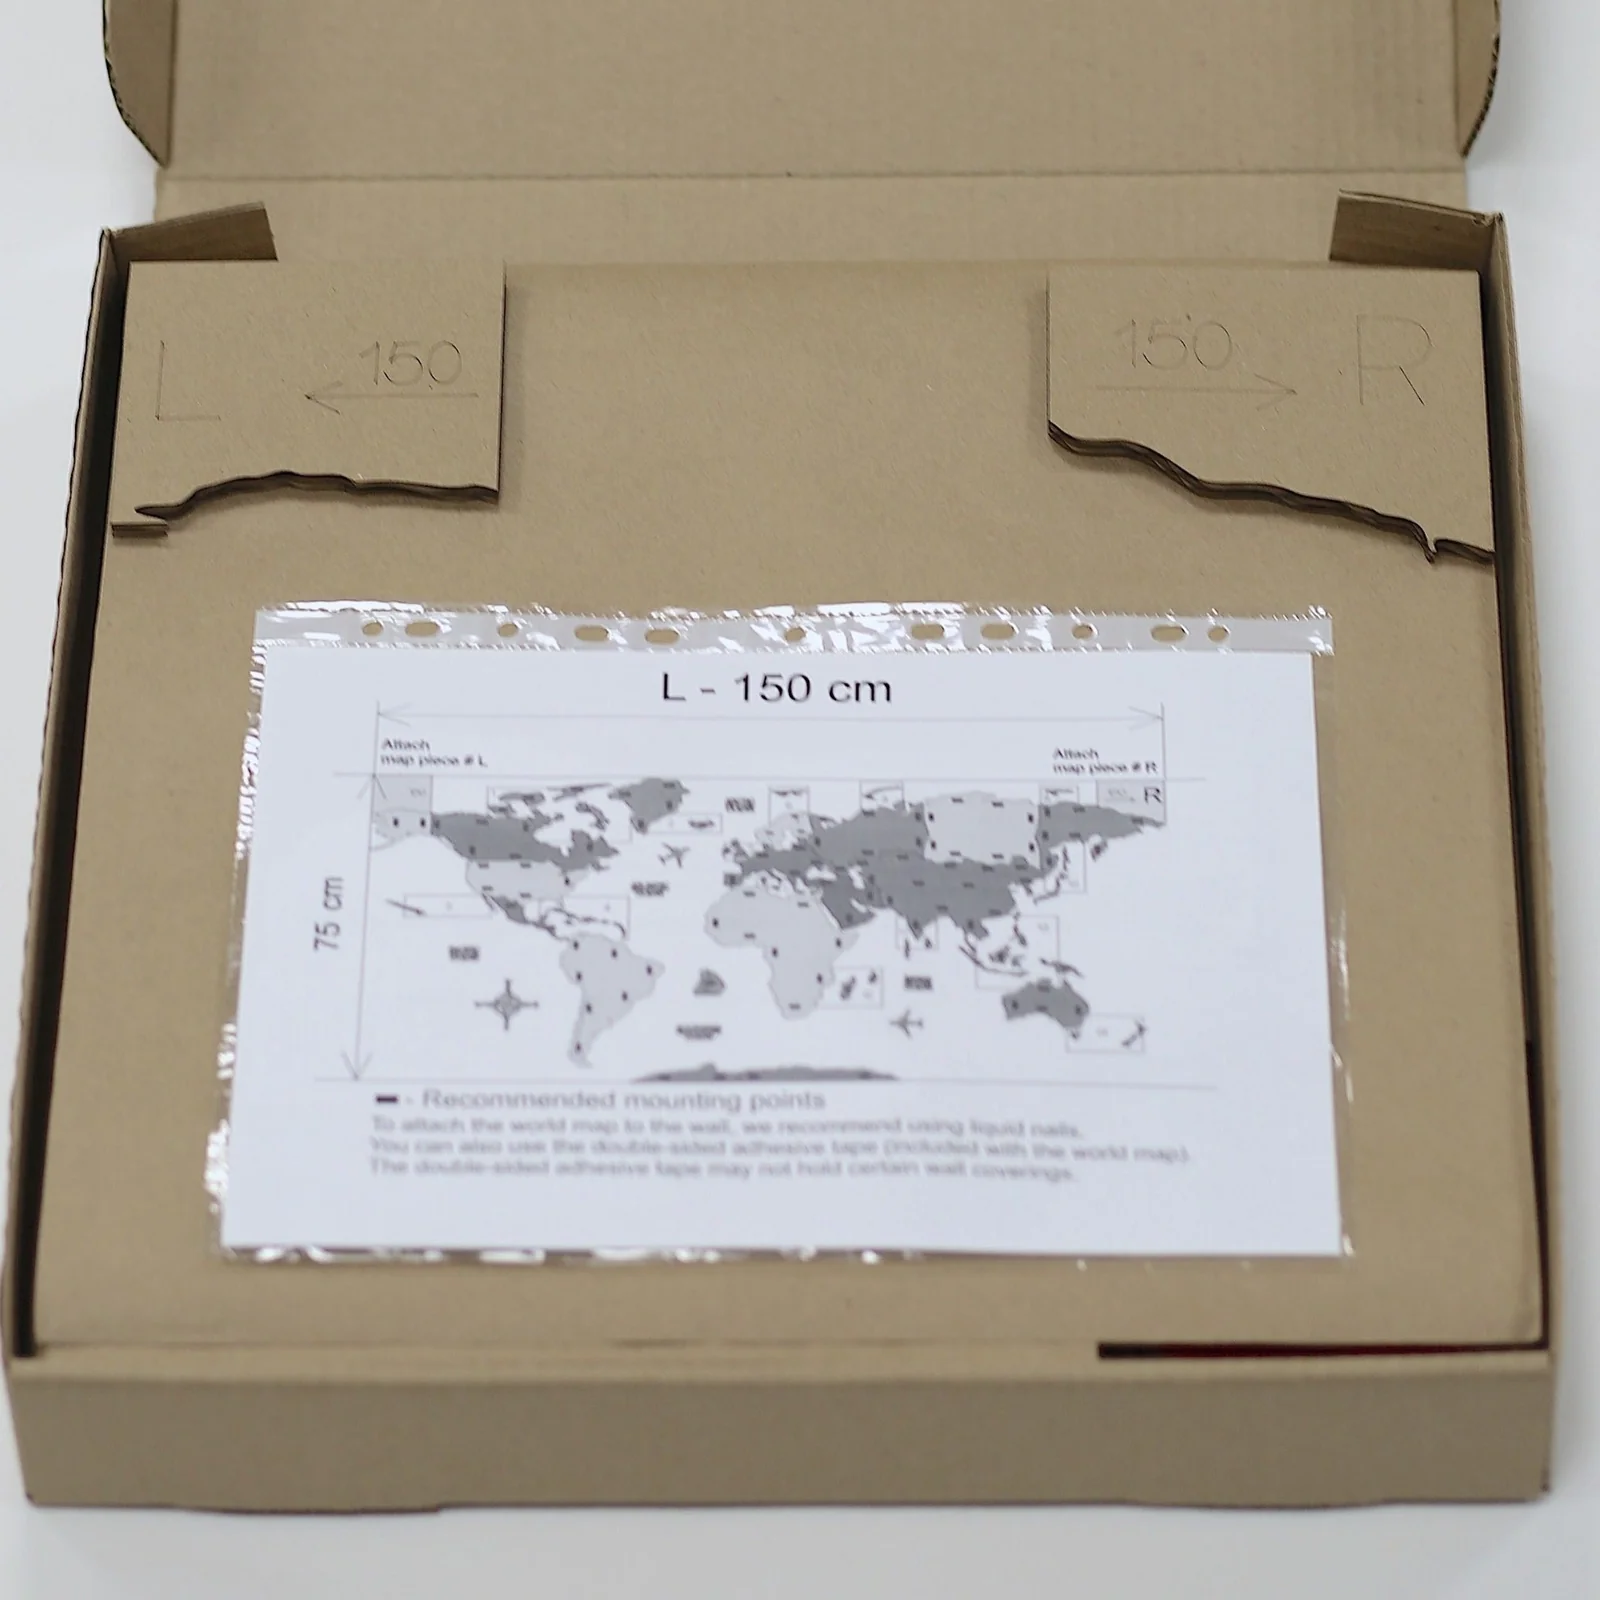
Example of packaging:
World map, wood, 150×75 cm brown (5) full
We take special care to ensure the safety of your purchased product. Each wall map is packed in an individual box
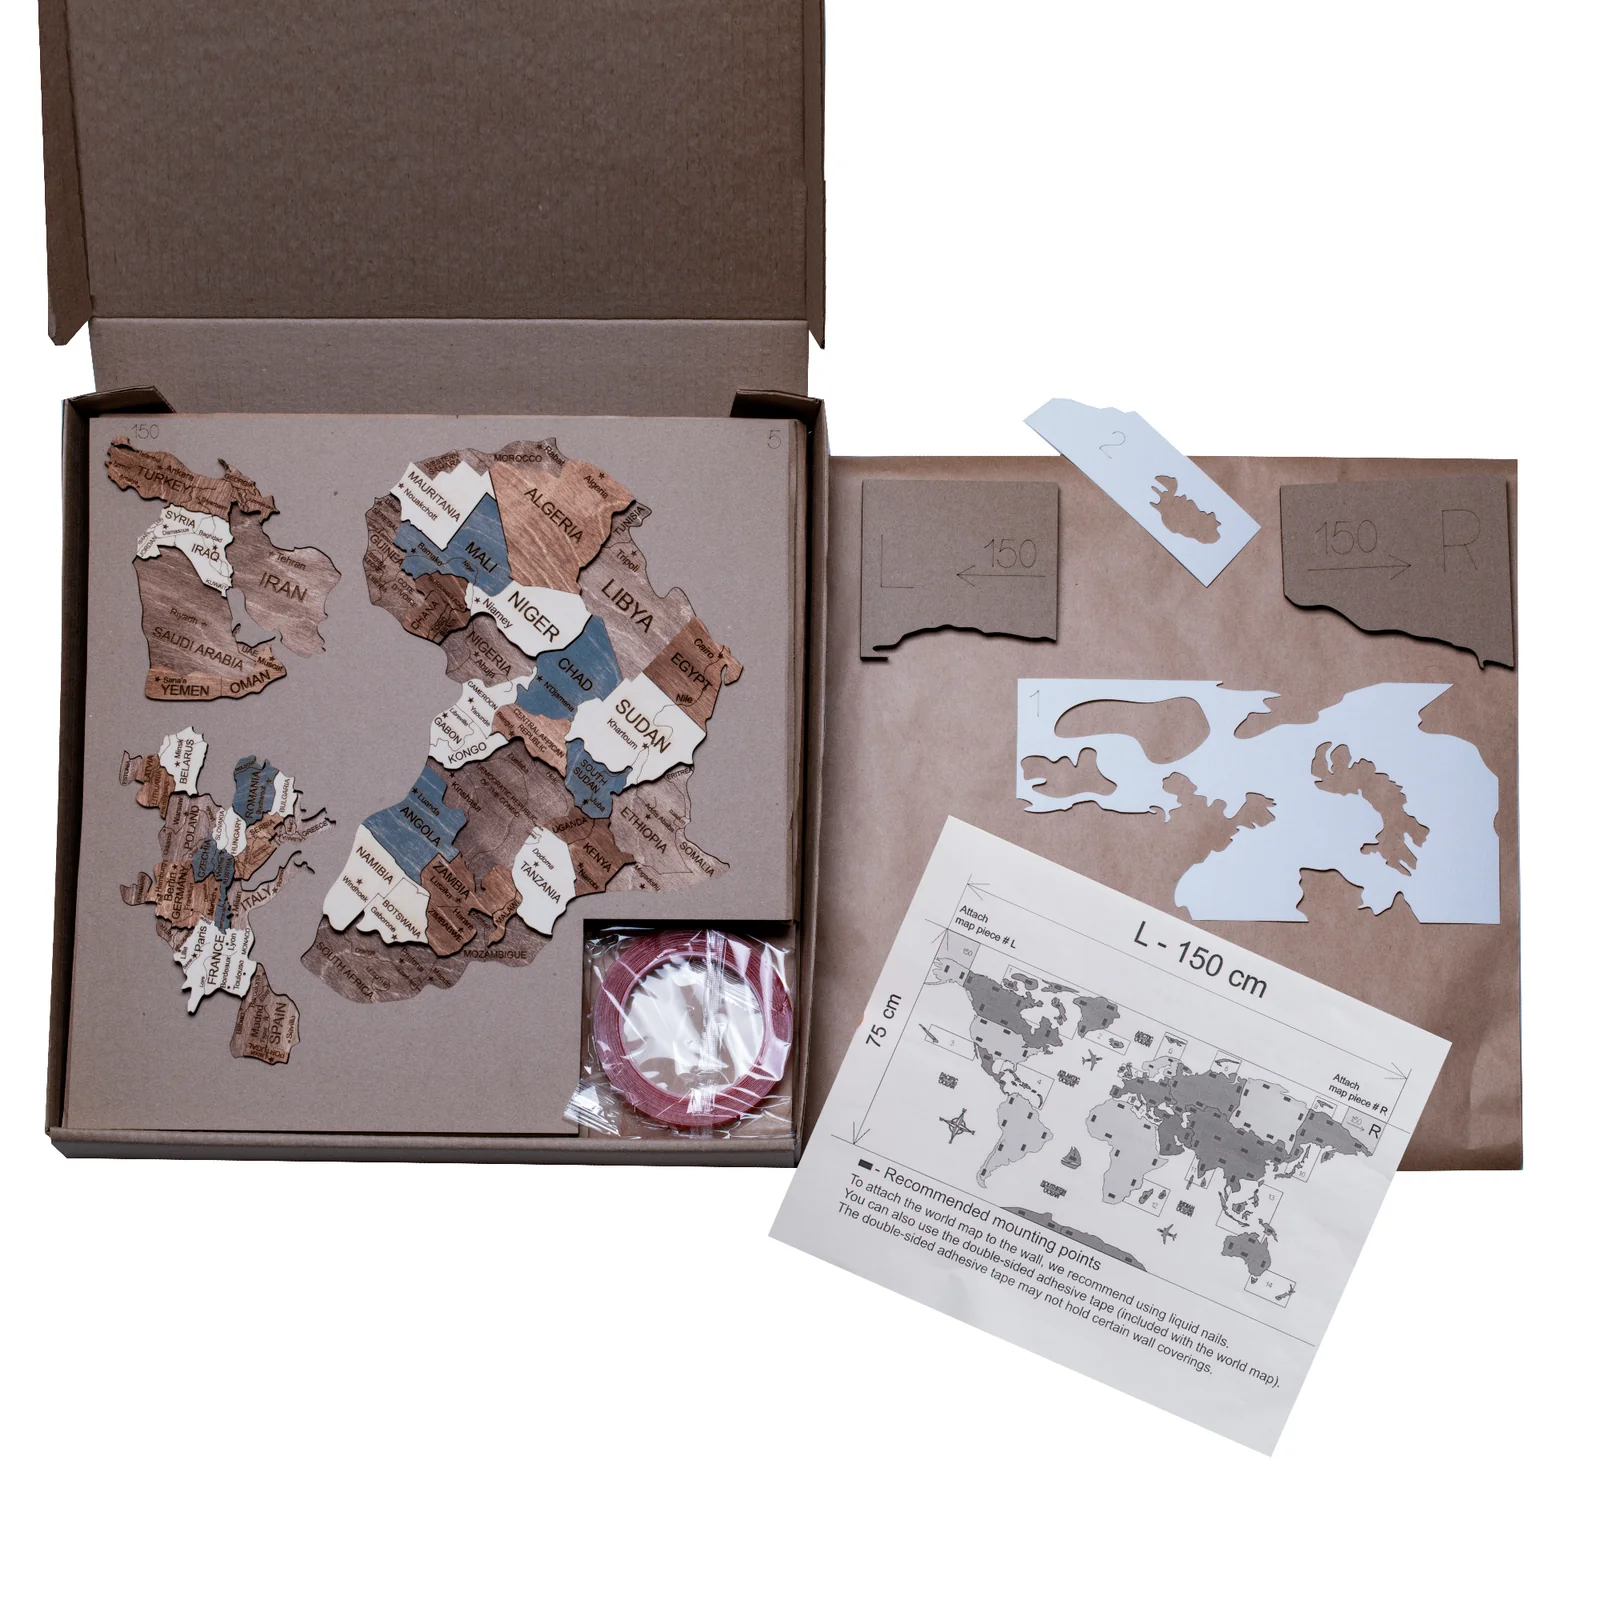
Example of packaging:
World map, wood, 150×75 cm brown (5) full
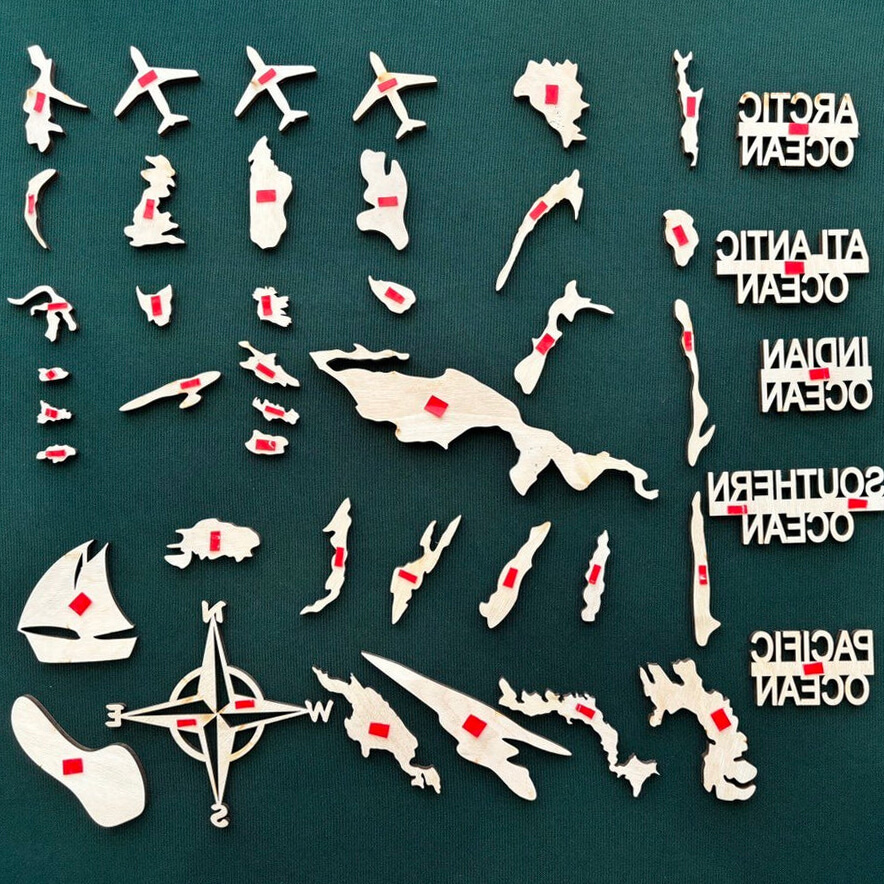
Each individual box contains 5 to 7 trays, which contain the wall map parts
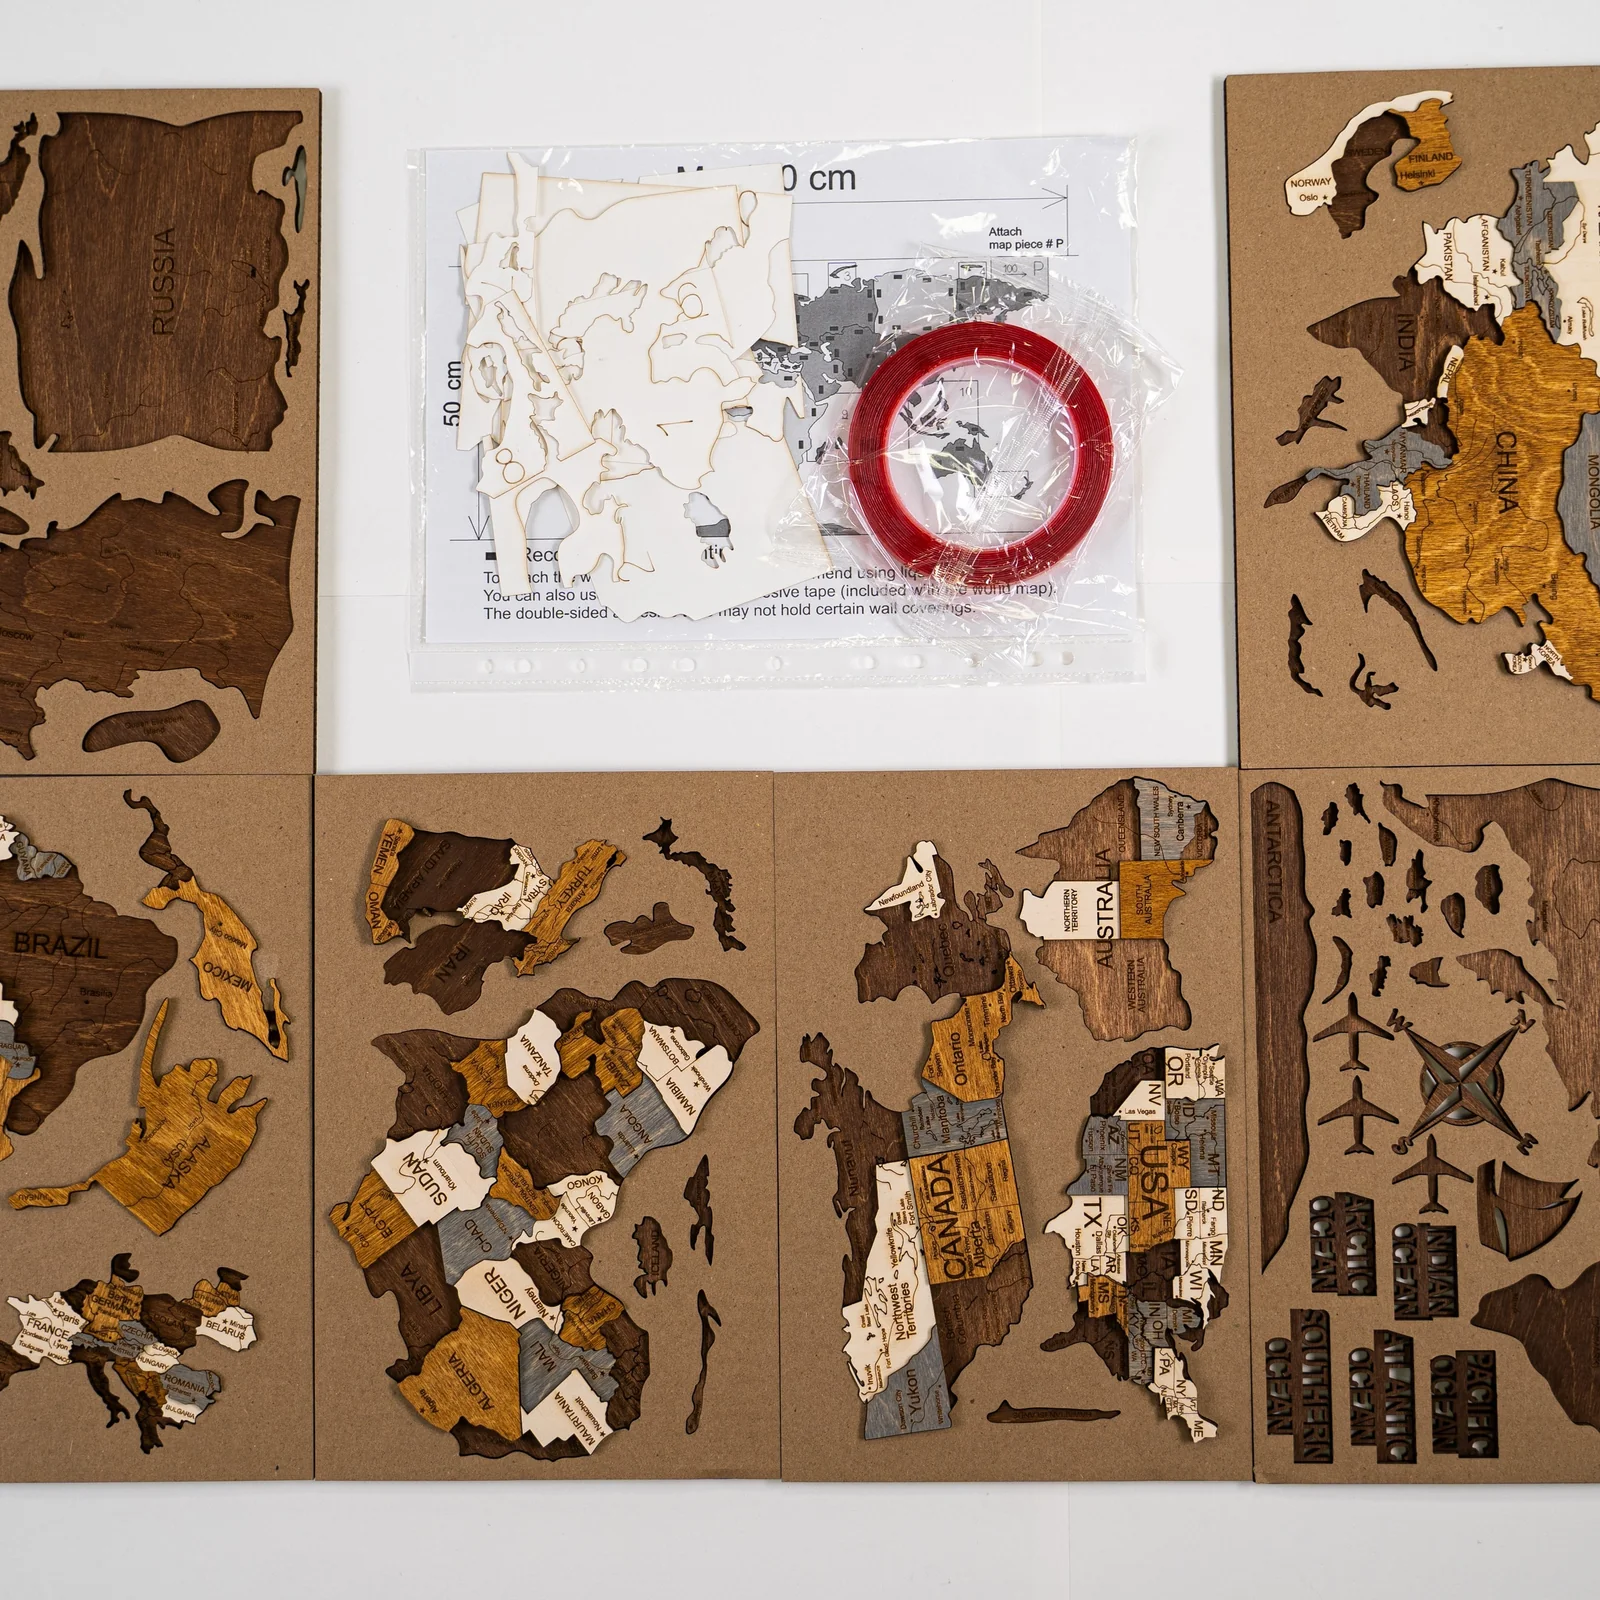
Example of packaging:
World map, wood, 150×75 cm brown (5) full
Each individual box contains 5 to 7 trays, which contain the wall map parts
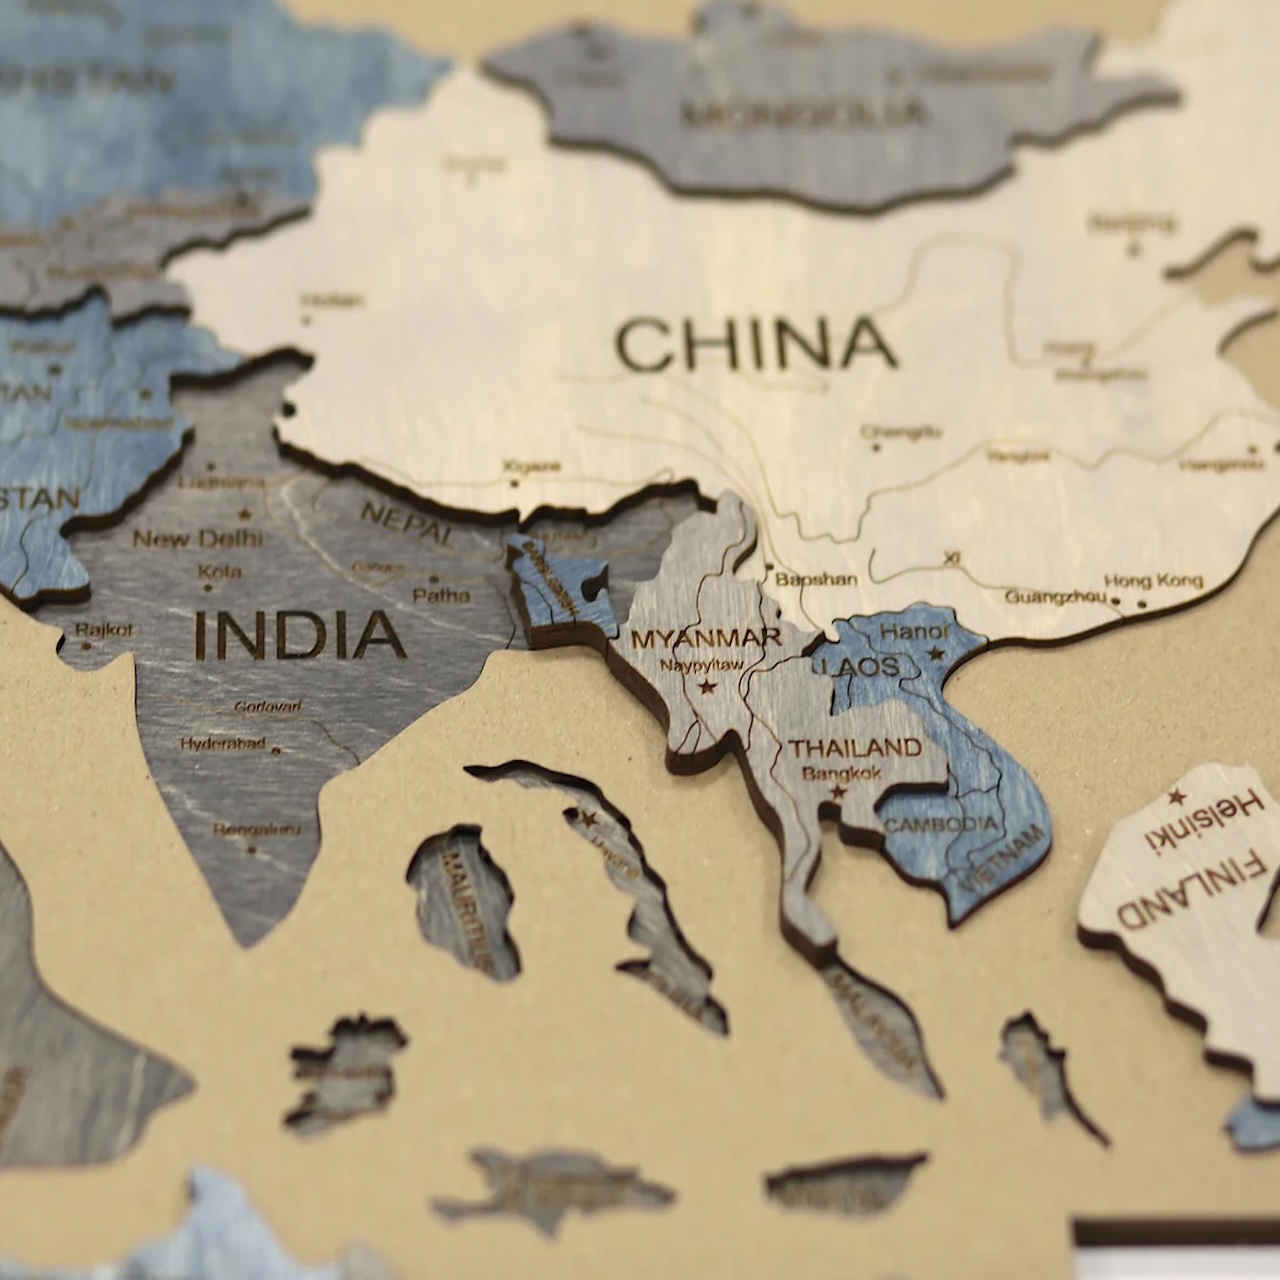
Example of packaging:
World map, wood, 150×75 cm dark gray (3) standart
Each individual box contains 5 to 7 trays, which contain the wall map parts
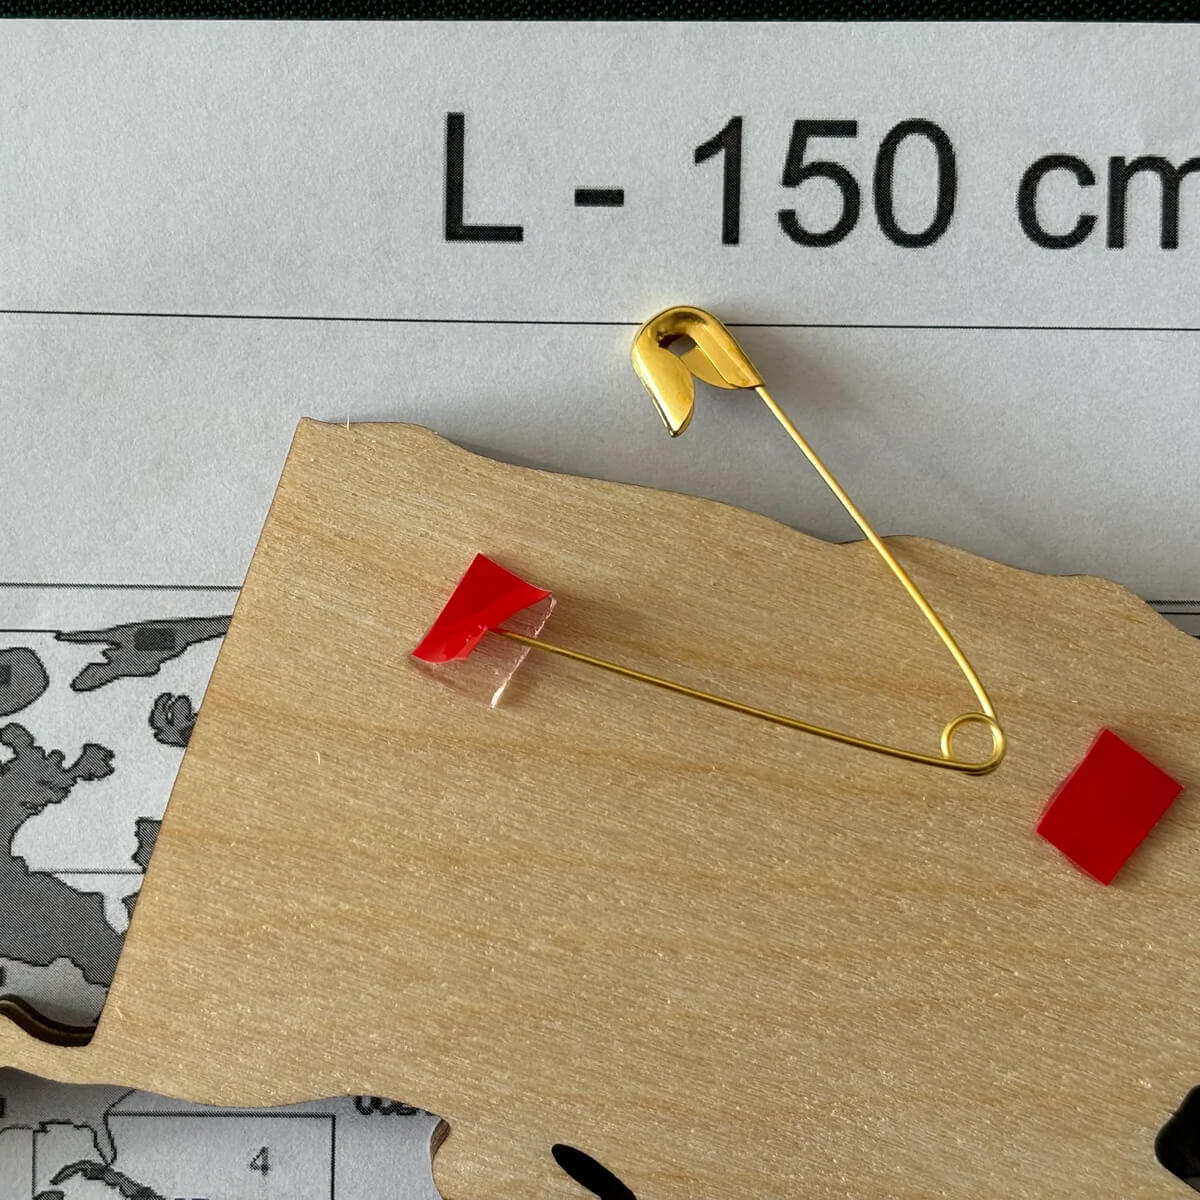
To install the map on the wall, you will need a tape measure, a pencil, scissors and any needle or pin
Installing a Wooden Wall Map
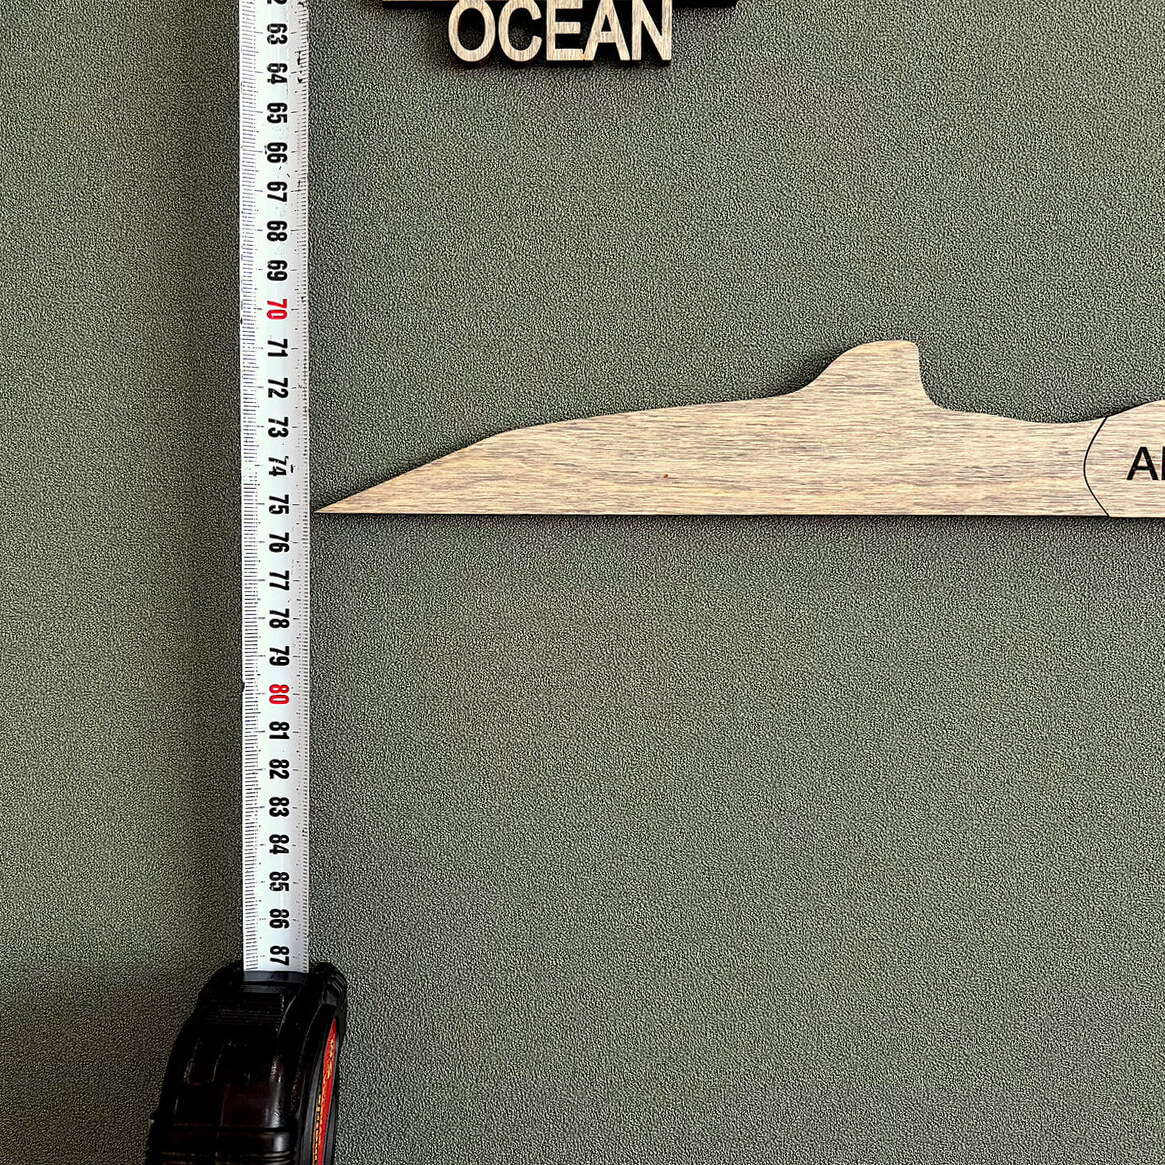
Mark the height of the map installation. Use a tape measure and mark with a pencil on the wall the required height of your map from the floor in the room.
Mark the width of the map installation. Place the right and left templates (made of gray cardboard) at the height required for your map. The top edge of the right and left templates will be the top edge of your map.
Cut the required amount of double-sided tape and stick it to the back of the map pieces (the leftmost top piece is Alaska, USA). Insert it into the left cardboard template and stick it to the wall. Do the same with the right part of the map (Chukotka, Russia).
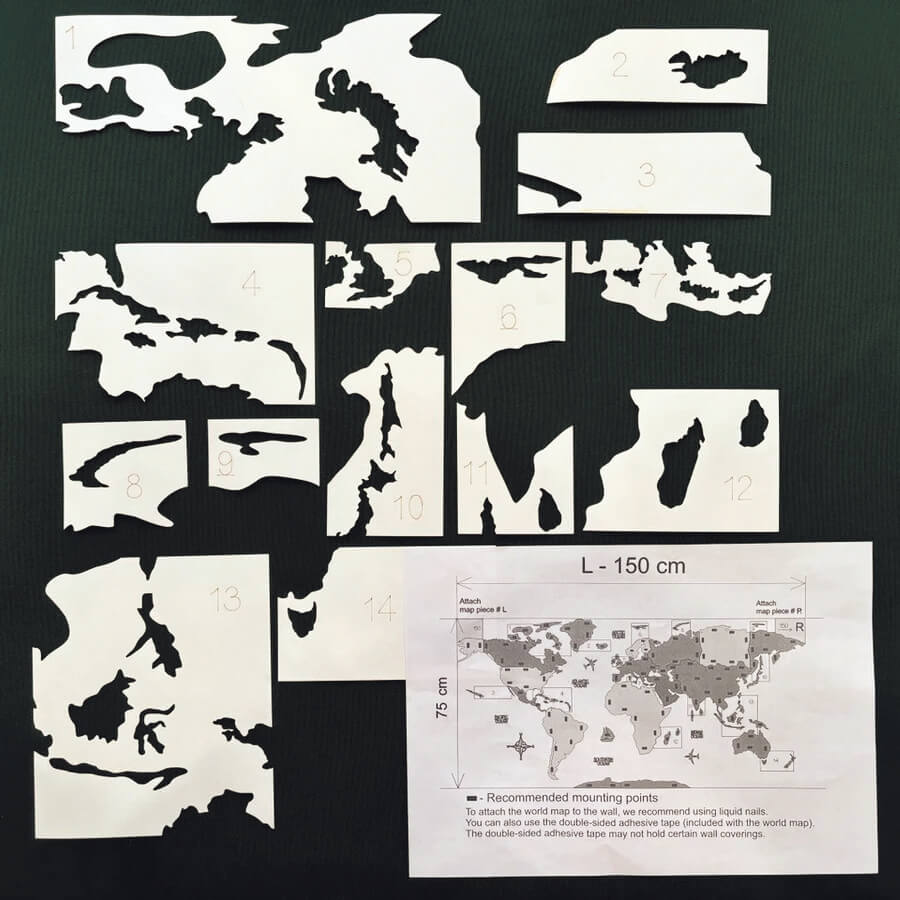
After installing the largest parts of the map – the continents of Eurasia and North America, take a set of white paper templates (included in the package), focusing on the wall map installation diagram, use the templates (the templates are numbered for your convenience) to install the remaining parts of the map – the large ones – the continents of South America and Africa, as well as small parts of the famous islands.
Use a tape measure to mark the height of your map to install the bottom part of the product (Antarctica). Depending on the size of the product you have chosen, measure the desired height from the top edge of the Greenland island.
Carefully, using a needle, remove the numbered templates from the white paper, as well as the upper right and left main templates from gray cardboard.

